
[Cleaning Guide] Scrubbed It. Rinsed It. Still Looks Dirty? 8 Oven & Baking-Tray Frustrations Worth Tackling Differently
The black crust. The cloudy glass. The corners you can never quite reach. Here’s where CLEANING PASTE fits into a more focused cleaning routine.
TL;DR: When the sponge has done another lap and the dark patch is still there, it’s tempting to scrub harder. A more useful next step is to check the surface and choose a cleaner for the job. CLEANING PASTE is a thick pink paste presented for ovens, baking trays and grill racks. Here are eight familiar frustrations—and what to consider before trying it.
You’ve cleared the table. The dishes are done. But that tray is still sitting by the sink, wearing the same dark ring it had before you washed it.
Then you open the oven. Grease on the glass. Brown buildup along the rack. Another job to put off until the weekend.
It’s the unfinished feeling that gets you: you’ve put in the effort, yet the kitchen still doesn’t feel reset. Before another round of forceful scrubbing, take a closer look at the mess—and the way you’re trying to remove it.
Jump to the product & usage checklist1. The black crust that survives another wash
Loose crumbs wash away. That dark, baked-on patch doesn’t. You rinse the tray, tilt it toward the light, and see the same stubborn islands of residue staring back.
Repeated cooking can leave a very different mess from fresh dinner grease. A quick pass with a wet sponge may clean the easy areas while leaving the hardest spots untouched.

That’s the problem this product is positioned for. Its label identifies it as an oven and baking-tray cleaning paste for heavy grease. On a compatible surface, the paste format lets you work on a selected patch instead of treating the whole tray as one big cleaning job.
A stain and a scratch are not the same thing
Cleaning may remove residue; it cannot restore missing coating or repair scratched metal. Look closely at the surface before deciding that more pressure is the answer.
2. Your hand is working harder than the stain is moving

You lean into the sponge. Change the angle. Go back over the same patch. By now, you’re tired of the task as much as the dirt.
More force is an easy habit to fall into. But it can also be the wrong move for the finish you’re trying to clean.
The supplied CLEANING PASTE instructions show a simple sequence: apply, sponge, then wipe or rinse. The point is to put a suitable cleaning product into the process before relying on pressure alone.
Choose a compatible applicator and follow the label. This is a different approach to the job—not a promise that every stain disappears without effort.
3. The oven glass still looks greasy after you wipe it
It’s especially annoying on glass: you wipe one area and a dull film catches the light somewhere else. Finger marks, grease speckles and a dirty cloth can make the door look unfinished.

Separate cleaning the deposit from removing the residue. On approved surfaces, work according to the paste’s directions, then finish with a clean cloth or rinse as instructed. Reusing a greasy cloth can simply move the mess around.
Let the oven cool completely first, and check its manual before treating the glass or interior. Keep cleaner away from areas the manufacturer excludes.
Considering a paste for a stubborn spot? Check the product details first.
See CLEANING PASTE4. The middle looks better. The edges still look awful.
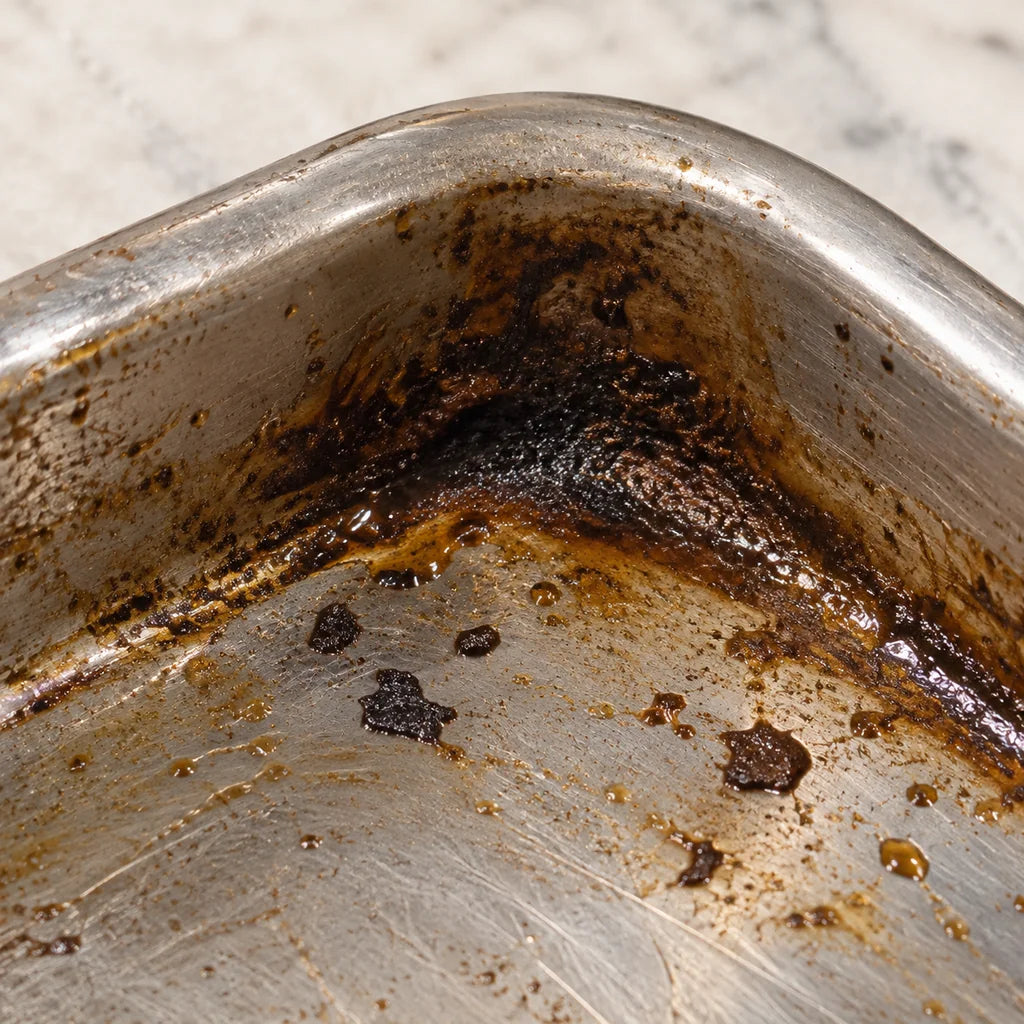
You’ve dealt with the flat part. Then you notice the brown line around the rim, the dark corner, the deposit tucked into a rolled edge.
Large wiping motions can miss small, awkward areas. Those are often the places that keep a tray looking dirty even after the rest has been washed.
Break the job into smaller sections. Use a suitable applicator that can reach the area, and avoid forcing a sharp tool into the seam.
A paste gives you a visible product to place on a chosen spot. The right technique still depends on the material and the instructions.
5. You want the grease gone—not more scratches
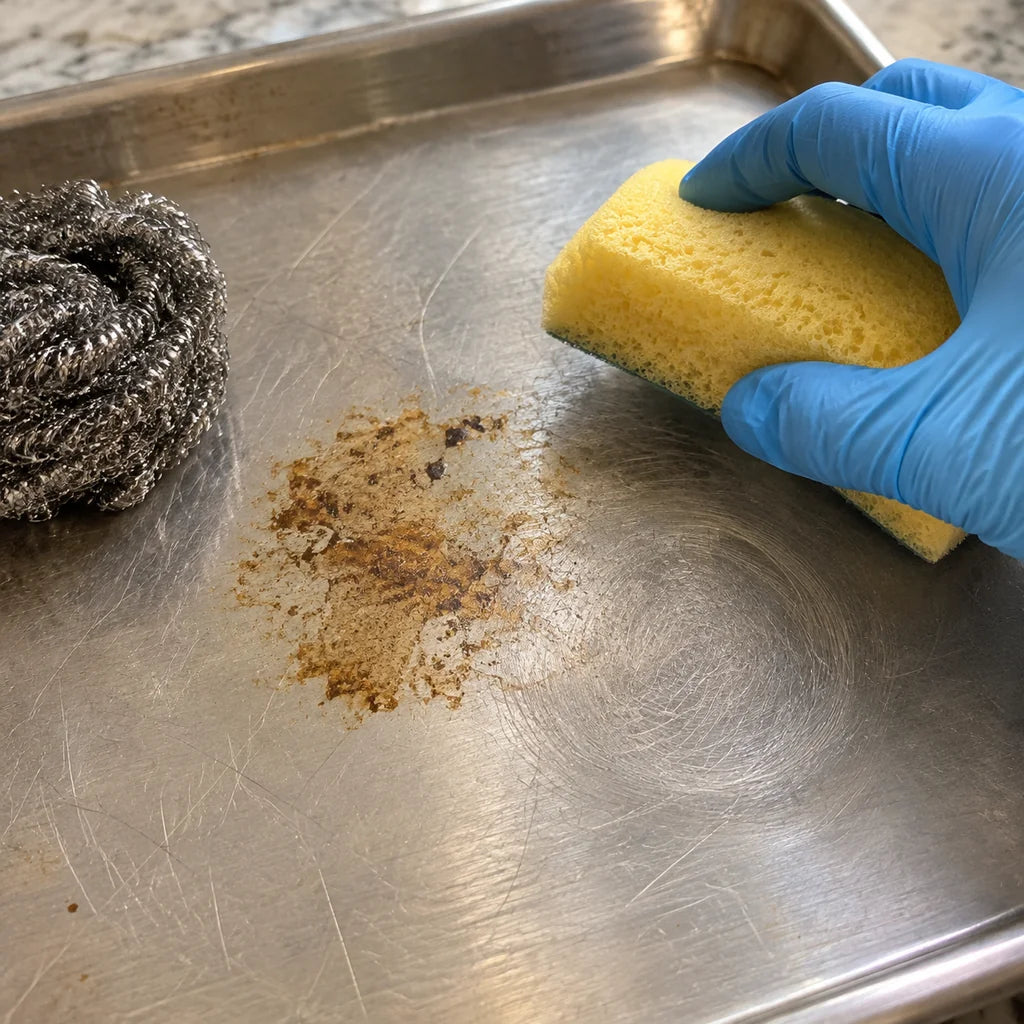
The rough scourer is right there. So is the worry: will it remove the deposit, or leave another mark?
That hesitation is a good reason to check compatibility. “Metal tray” doesn’t tell the whole story; a tray may have a coating or finish that needs different care.
Before using CLEANING PASTE, read the label, check your cookware or appliance guidance, and test a small hidden area. Pair it with an applicator approved for that surface.
Don’t interpret “paste” as automatically scratch-free. A careful first patch is a better starting point than an all-over scrub.
What about non-stick and specialist oven liners?
Use only products permitted by the manufacturer. If compatibility is unclear, do not apply the paste to that finish. Self-cleaning systems and coated cookware can require specific care.
6. The cleaner runs away from the place you need it
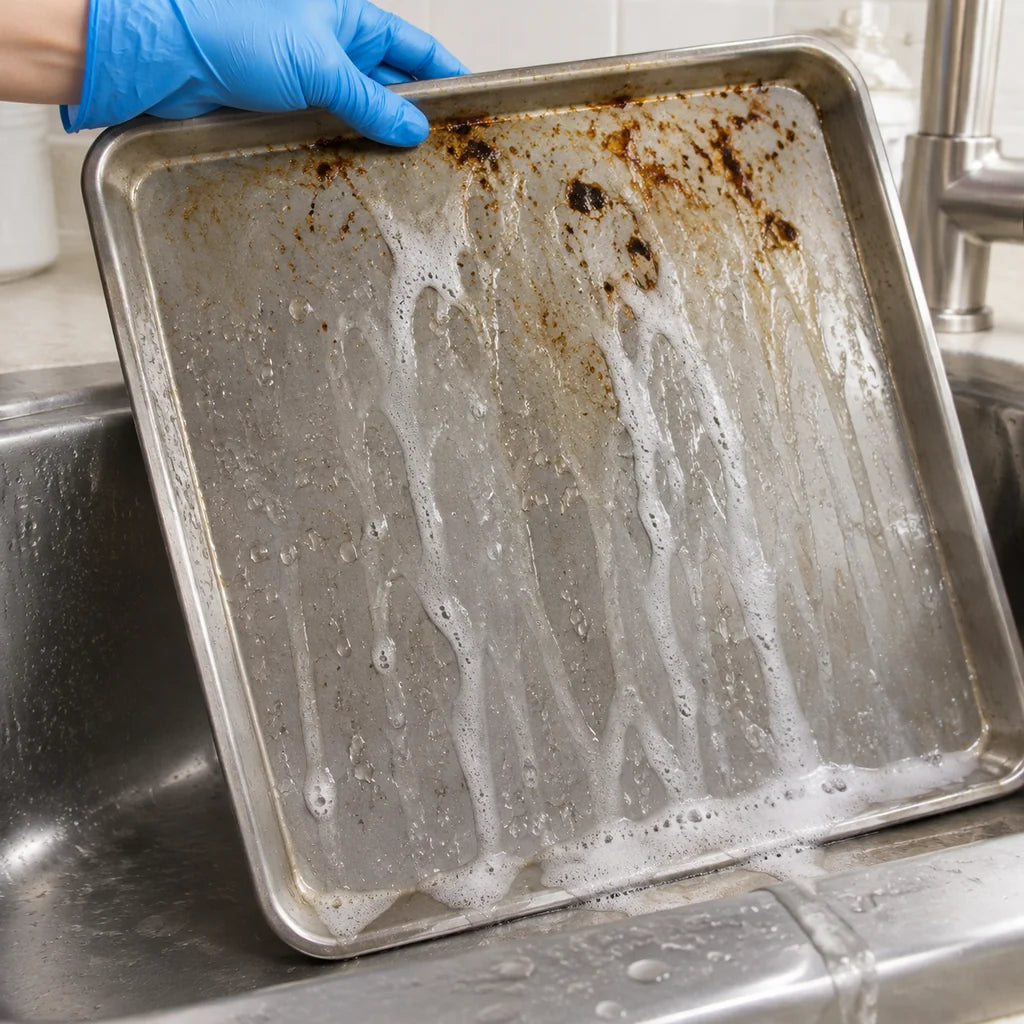
You’re trying to treat a small dirty patch. Instead, thin suds collect at the bottom, spread across the sink, or drip onto the counter.
The cleanup starts creating its own cleanup. It’s one reason product texture matters when you want to work on a particular area.
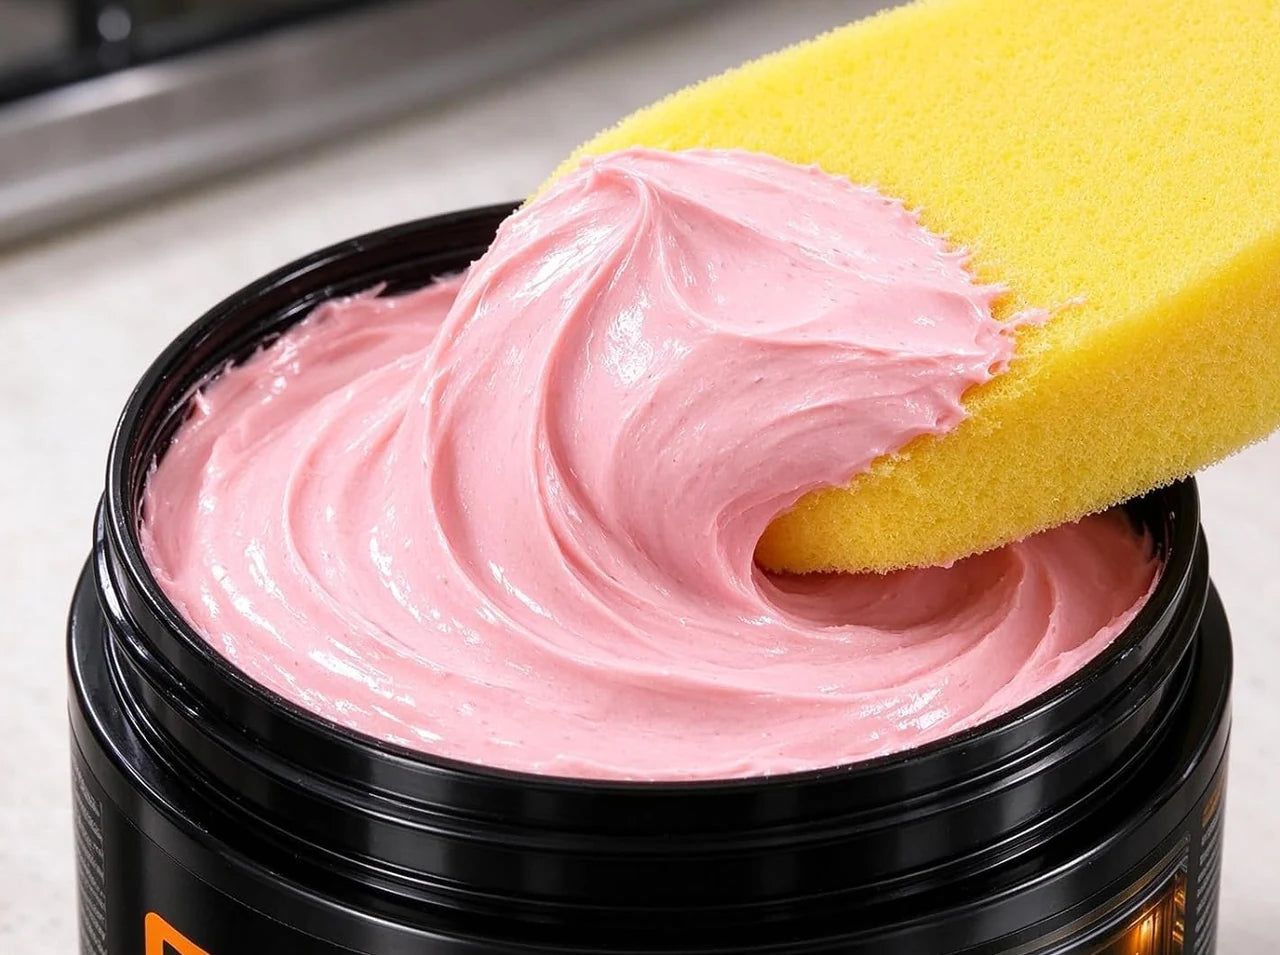
CLEANING PASTE has a thick, creamy format, as shown in the supplied product imagery. You can see the paste on the applicator and the spot you’re working on.
Use only the amount directed on the label. Adding more product does not automatically mean better cleaning—and any remaining product still needs to be removed properly.
A format made for focused application
See the spot. Apply the paste. Work that area.
For someone tired of spreading cleaner across an entire tray, a paste format is a practical feature to consider.
The product is shown as a pink cream in a compact black tub. Check the current listing for the pack you’re buying and the full directions.
Explore the paste & pack options7. The rack looks clean—until you look at the joints
A cloth slides along the straight wires. The brown buildup at the intersections is another story. It’s easy to miss until the rack is back in the oven.

The product packaging lists grill racks among its intended uses. For a compatible removable rack, approach the joints individually and work with a suitable soft applicator, following the label.
Don’t let a cleaner dry into a seam contrary to its directions. Finishing the job includes removing residue and checking the rack before putting it back into use.
8. The longer you put it off, the bigger the job feels
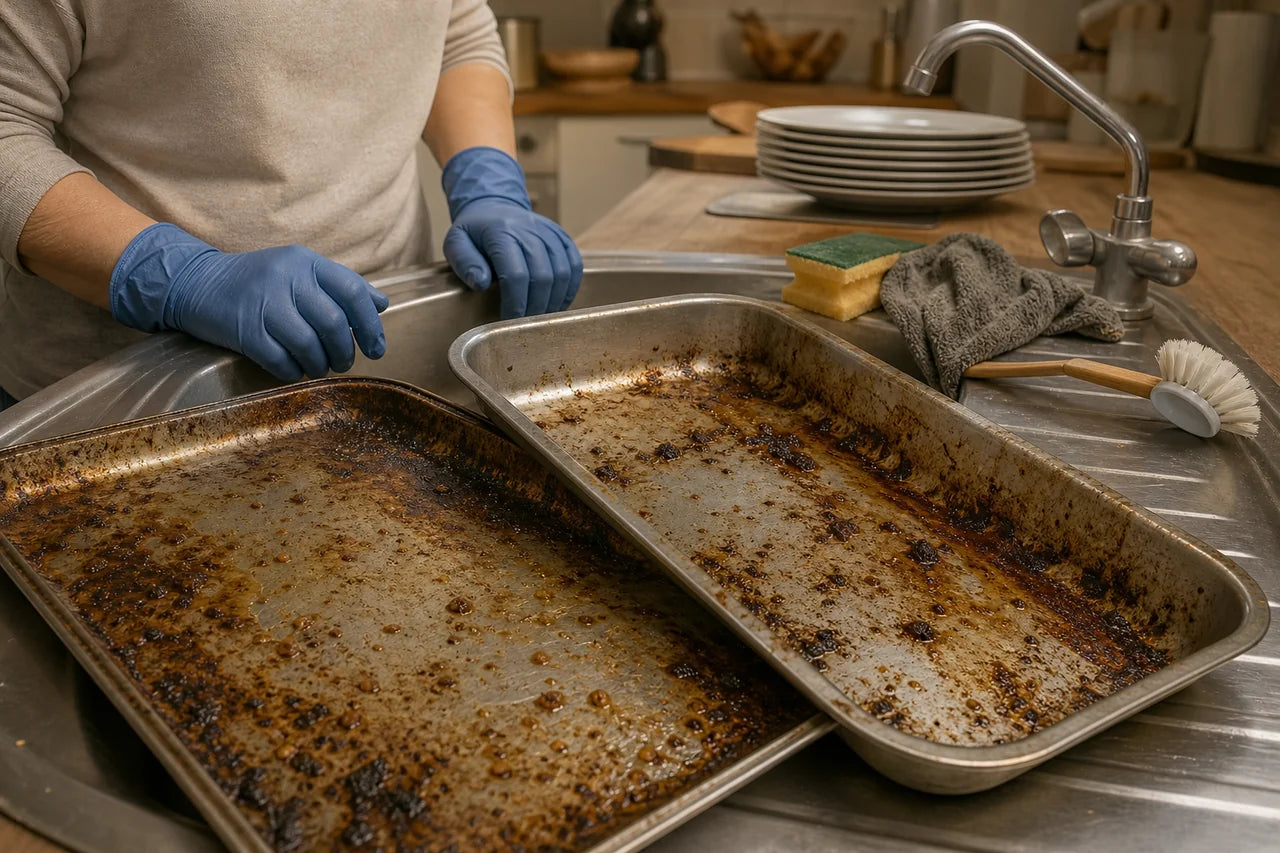
It isn’t always the dirt that stops you. It’s the thought of soaking, scrubbing, finding space, and cleaning the sink afterward.
Make the next step smaller. One cooled tray. One compatible test patch. One clear set of instructions.
The CLEANING PASTE packaging is marked 50g. A compact tub and a defined apply–sponge–finish routine may suit someone who prefers working through a cleaning task in manageable sections.
Keep the routine realistic. How much you need and how long the job takes depend on the area, the buildup and the label directions.
You shouldn’t have to guess between scrubbing harder and giving up. Start with the surface, choose the right method, and tackle one stubborn area at a time.
Three approaches. Different trade-offs.
A practical format comparison—not a controlled performance test.
Swipe to compare all three methods →
| What matters | Soap & soaking | Forceful scrubbing | CLEANING PASTE |
|---|---|---|---|
| The approach | Water and detergent contact | More mechanical pressure | Targeted paste application |
| Working on a small spot | May involve a larger wet area | Focused contact with a tool | Visible cream on a chosen area |
| The main consideration | Space and soaking suitability | Finish and applicator compatibility | Label and surface compatibility |
| Finishing the job | Wash and rinse as appropriate | Remove loosened residue | Wipe or rinse as directed |
| Guaranteed on every stain? | No | No | No—results vary |
Is CLEANING PASTE right for your next cleanup?
Start with the format, the surface and the instructions.

CLEANING PASTE
A thick pink paste presented for oven, baking-tray and grill-rack cleaning. For shoppers who want to work on stubborn areas with a visible, targeted format.
Explore CLEANING PASTE
See current options and availability in the store.
Check the product page for the selected pack, directions and shipping details.
| Check | What the supplied product material shows |
|---|---|
| Format | Pink cream cleaning paste in a black tub |
| Labelled size | 50g; confirm the selected pack on the product page |
| Listed uses | Oven, baking tray and grill rack |
| Basic sequence | Apply paste → sponge → wipe or rinse |
| Before use | Read the label, check surface compatibility and spot test |
A smaller, clearer way to start
- Prepare & checkLet the surface cool. Check the label and your appliance or cookware instructions. Test a small hidden area first.
- Apply & workUse the directed amount on a compatible area. Work with a suitable sponge or applicator, following any stated contact time.
- Remove & finishWipe or rinse as directed. Remove cleaner residue before returning the surface to food preparation or cooking.
Do not mix cleaning products. The product label takes precedence over this general guide.
Notes & useful checks
Good cleaning starts with knowing what you’re working on.
What this guide is based on
Product format, labelled size, intended uses and the basic application sequence come from the supplied product packaging and promotional artwork. This guide is not an independent product test.
The cleaning-frustration photographs are AI-generated illustrations. They show common problems, not customer results or before-and-after proof. Product photographs are supplied artwork.
What affects the outcome
Surface material, finish, age and type of residue, application method and compliance with the label can all affect results. Cleaning cannot repair scratches or damaged coatings.
Quick answers
Can I use it while the oven is warm?
Start only when the appliance is fully cooled, and follow the label and oven manufacturer’s directions.
What if I don’t know the tray’s coating?
Check the manufacturer’s care guidance first. If you cannot establish compatibility, do not use the paste on that surface.
Can it be combined with another cleaner?
Do not mix cleaning products. Use and remove the cleaner according to its own label.
Where do I check ingredients and pack contents?
Use the current product listing and the product label. Check all details for the variant you select before ordering.
Questions Before You Clean
Practical editorial answers to help you choose and use the product.
Will it make my old tray look brand new?
No cleaner can promise that for every tray. Burnt-on residue, permanent discoloration and scratches are different problems. The result depends on the surface, the buildup and the product directions.
Can I use it on a non-stick tray or a self-cleaning oven?
Check both the product label and the appliance or cookware manufacturer’s instructions first. Do not assume this paste is suitable for non-stick coatings, catalytic liners, heating elements or seals.
How much do I use, and how long do I leave it?
Use the amount and any contact time stated on the label. The supplied product images do not establish a verified dose or dwell time, so there is no universal “leave it for five minutes” rule here.
Do I get two tubs, a sponge and a cloth?
The product artwork shows these items together. Check the selected option on the product page for exactly what is included; the picture alone does not establish the bundle contents.